Wednesday, February 04, 2015

ICY TIP: How to expand your NAS storage with ICY DOCK USB 3.0 or eSATA HDD external enclosures or external hard drives

-->
How to expand your NAS storage with ICY DOCK USB 3.0 or eSATA HDD external enclosures or external hard drives
To have the ability to access your files wherever and whenever is a great advantage to your productivity. This is why the cloud services like Dropbox, Google Drive, Microsoft OneDrive, Apple iCould are becoming popular. However, the lack of storage capacity and rising security concerns are two major challenges of public cloud services. For people who want to store their personal photos, videos and/or sensitive data on the cloud, creating your own cloud storage with Network Attached Storage (NAS) is a better idea. This option gives you higher storage capacities yet with lower security risks compared to public clouds. It also gives you more user configurable options which will allow you take full control of your cloud storage. The bottom line is if iCloud, Sony PS network and Target can get hacked, there’s probably no place safer than your own home.
 
QNAP NAS Enclosure – The TS-131
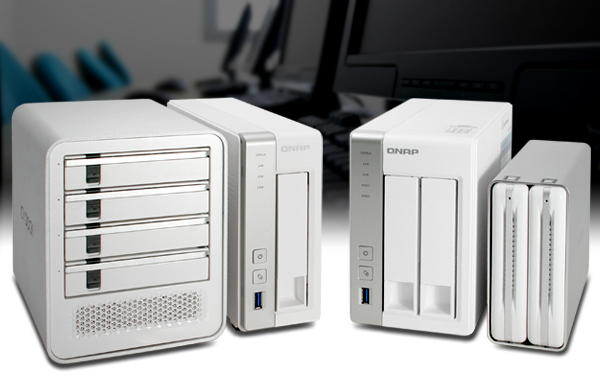
If NAS is so great, why it isn’t as popular as public cloud? We believe this is because most people have recognized network devices as complex systems and kept themselves away from it. In order to prove that NAS can be used for the average Joe, we decided to contact QNAP see if we can obtain a NAS enclosure geared for average users for this article. QNAP was kind enough to send us their NAS enclosures TS-131 (single bay) and TS-231 (dual bay). These units both provide easy-to-use storage center for backup, synchronization, remote access and home entertainment. The setup is extremely easy with QNAP TS-131. You simply place a hard drive onto the HDD tray, insert the tray into the NAS device and then connect it to the router. After that, you connect to the web address QNAP provides and follow the steps/instructions there. From that point, it will install a software to your computer and basically, the QNAP installer will do all the work for you. When it is done, just log on to the web server and the NAS is ready to go. Anyone with basic computer knowledge should be able to set it up, and it should not take longer than 30 min to complete. What makes it even more user-friendly is that QNAP employs a simple web-based software to control the NAS and has created phone apps for mobile use. This makes it really easy to access your personal cloud storage anywhere you go. So immediately after setup, you will be able to access the NAS with different computers and even with your smart phones.
 
Expand Storage
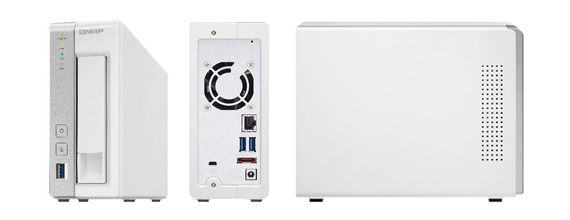
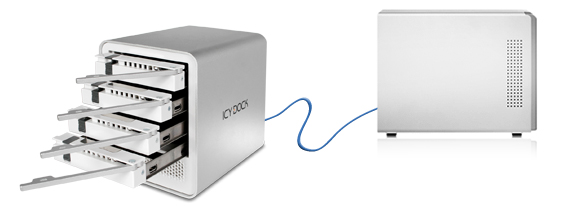
As previously mentioned, one of the perks of having a personal NAS verses a cloud service is the ability to expand your storage capacity. QNAP NAS systems and many other NAS systems, such as Synology’s DiskStation DS214 and Silverstone’s DC01B, come with plenty of external connectors for easy storage expansion. The TS-131 comes with one bay for a single hard drive, which can fill up really quickly, but the extra 1x eSATA and 3x USB3.0 ports on the NAS device allows the capacity for expansion. We tested this storage expandability with several of our external enclosures, and we found that adding an external device was as simple as plugging it in and letting the QNAP system do the work. So if you are looking to add storage expansion unit, we listed several of our ICY DOCK external enclosures with different functionalities below.
 
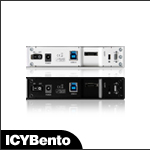
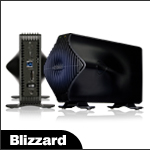
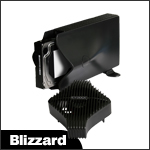
Single Bay – ICYBento MB559U3S-1S/ Blizzard MB080U3-1SB
 
 
Our single bay enclosures, the ICYBento MB559U3S-1S and the Blizzard MB080U3-1SB, both come with a USB 3.0 and an eSATA interface and you can choose whichever interface you prefer to use to expand your NAS. The MB559U3-1S is designed with a slim aluminum body and removable tray design for easy installation/drive swap. This is great for users looking for a simple, elegant and space saving addition to their NAS. For users that need to perform 24/7 heavy data transfers on their hard drives, we recommend the MB080U3S-1SB with its large 80mm fan dedicated to blowing away unwanted heat that could otherwise build up and kill your hard drives. Additionally, the MB080U3S-1SB’s trayless design also allows for fast hard drive swap.
 
Product Link:
 

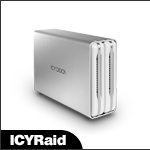
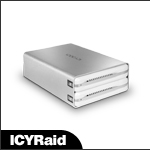
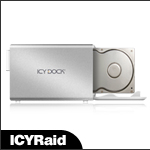
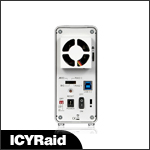
Dual Bay – ICYRaid MB662U3-2S


The ICYRaid MB662U3-2S can expand the NAS system with two hard drives via USB 3.0. With two hard drives, this unit makes it possible to transfer data between two hard drives in JBOD mode. However, the main benefit of using the MB662U3-2S is the built-in RAID function which provides 4 different settings for various uses. Besides using it to expand capacity with two hard drives in JBOD mode or to create a single large storage volume with BIG mode, the ICYRaid can also be set up in RAID 1 or RAID 0 to be used with the QNAP NAS. With RAID 1 mirroring, your data will be protected from hard drive failures and this makes the MB662U3-2S a great backup storage solution for all your important data from various computers and/or even the data off of your main NAS hard drive.
Product Link:

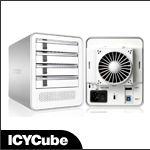
Quad Bay – ICYCube MB561U3S-4S


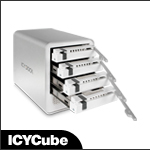
With 4 hard drive bays, the ICYCube MB561U3S-4S can expand the NAS by up to 24TB (6TB per HDD). Besides being easy to swap out hard drives, this gives the option to categorize the data to be place on each hard drive: one drive can be used to store all video files and another can store all important documents. Furthermore, like the ICYRaid in JBOD mode, the MB561U3S-4S allows for data transfer between the hard drives . Lastly, one important feature to point out is that the eSATA port on the QNAP NAS system supports eSATA port-multiplier function. So, whether you want to connect the ICYCube via USB 3.0 or eSATA, the QNAP system will be able to quickly interface with all 4 hard drives in the MB561U3S-4S.
Product Link:

If you have any further questions, please feel free to contact us by email at tech@icydock.com or through our Live Chat (M-F 9-5pm PST)


ICY DOCK USA

11740 Clark St.
Arcadia, CA 91006
Tel: 626.956.8800
Fax: 626.956.8811

No comments:

Post a Comment